Showing posts with label Christmas. Show all posts

Friday, December 23, 2011

CONFIGURATION BOXES for CHRISTMAS

Here's myYouTube video, showing all five of my Christmas Configuration Boxes.


This is the first one I've done all by myself, so I hope you enjoy it (don't forget to turn the sound on).

pink saturday

Finally, please visit Beverly at How Sweet the Sound to see all the wonderful Pink Saturday Christmassy posts!

Happy Christmas, everyone!

Thursday, December 22, 2011

HAPPY CHRISTMAS TO YOU ALL

Here's a vitual Christmas card from me to all of you - feel free to post onto your own blog if you'd like to (left-click for the full size, and right-click to copy).

Created using Cajoline's Kit Noel Blanc- image from Tumblr

Wishing everyone a very Happy Christmas!

Thursday, December 15, 2011

CHRISTMAS TREES... O CHRISTMAS TREES...


Kaye (co-owner of BladeRubber Stamps) and I were chatting, as you do, when I took the wreath in for her shop window - and I happened to mention my Christmas decorations (3 trees this year). Kaye couldn't believe I could get 3 Christmas trees in the one living room. Hah! Oh yes I could!

Panning around the room, starting from the far left, here's Tree No 1 (4ft) next to the television. One of my Configuration boxes to the right of the television.
Closeup of Tree No 1 (4ft): Santa at the top, and two sets of lights, glitter reindeer standing underneath
The TV bench is on the left of this door, lights strung right around up at the ceiling and Tree No 2 (6ft) with 3 sets of lights and another Santa. Another Configuration box is on top of the bookcase.
Closeup, showing Tree No 2's tree skirt. Fireplace on the right.
Tree No 2 (6ft tree) on left, Tree No 3 (3ft tree) next to the computer desk on the right. Fire in the middle, with Santa lights on the mantlepiece. Tree No 3 has only the one set of lights and now feels very underdressed.
That's it for now... you can tell I just adore Christmas!

How are your decorations coming along? Got your tree up yet?

Monday, December 12, 2011

MY LATEST WREATH


This is my latest creation - using vintage pine cone ornaments (50s) plus some modern bits: the sequinned and tinselled apples and branches.


Here's a closeup, showing my own snowballs (heavy gel medium applied with a palette knife onto polystyene balls, then glittered with 3 different types of glitter all mixed up).


The base is a simple twig wreath, which I wrapped with a single length of tinsel to bulk it out - then in with the sparkly and glittery twigs etc.

My other wreath (scroll down a couple of posts) is the traditional reds and golds, etc.

Glue guns are now my very bestest friends!

Friday, December 9, 2011

PINK SATURDAY - TOOL KIT PREZZIE

Decoupaged tool kit for the geek in your life (or your DIY drawer)
I'm sure everyone is like me: frantically busy, just a little broke, and therefore looking to give handmade prezzies (that don't look HOME made - there is a difference). So I thought a quick and easy project might be just the job! Perfect for anyone, and unusual too! It's a TOOL KIT!

This was inexpensive, but doesn't look too cheap (although the plastic case was a dead giveaway, hence the decoration)
This is just a cheap basic tool kit you'll find in most hardware stores, a good size for changing plugs and other small electrical stuff (women need to be able to do this too, lol) also poking holes in signatures for books, levering out staples, prising drawing pins out of walls etc.

Front and back prepared in exactly the same way - just change the positioning of the decorations

PREPARATION

As it's plastic, it's rather slick and not good for gluing, so sand a little first, just enough to roughen the surface (use an emery board if you don't have sandpaper).

DECORATION
  • Couldn't be simpler: leftovers of scrapbooking paper for the front and the back, cut to size. 
  • Collage the ticket on first, then overstamped some text (using Staz-On ink).
  • The dots were Punchinella (sequin waste) used as a stencil, stippled with acrylic paint. Move the stencil and stipple again, creating a drop shadow using a metallic paint. 
  • Finally, decoupage a vintage scrap image of a clown's head.
 I used PVA (white glue) throughout. Mod Podge is also good.

Next step: glue to the tool kit using a good quality strong glue such as Crafter's, Gorilla, Aleene's Tacky Glue or use double-sided tape. You don't want this peeling off at a later date.

Finishing touches: I ran a metallic gold pen round the edges, then applied a single coat of clear acrylic varnish for protection.

TIME TAKEN

Very fast - took around 2 hours including coffee and biscuits, and drying time!

pink saturday

Finally, please visit Beverly at How Sweet the Sound to see all the other wonderful Pink Saturday posts!

Wednesday, December 7, 2011

50s CHRISTMAS SCRAPBOOK PAGE AND CARD

I used a copyright-free 50s image as the main photo, as I wanted a retro feel
Thought you might like to see a Christmassy scrapbook page I did as samples for Blade Rubber Stamps, plus a stepper card - both using the same design of background paper and chipboard embellishements.

View from the front - notice I did a little background stamping with snowflake stamps onto the base red card. I also trimmed round the edges with gold peeloffs. The Tree chipboard element was mounted onto separate gold card and rimmed around with gold glitter.
I also stamped on the centre red band of the tree (which was plain) and added baubles - some were the chipboard elements, and the rest were little metal hearts cut from an old necklace. All 'antiqued' with Rock Candy crackle paint.
View from the side, showing the steps and the dimensions. The darker snowdrops are stamped with Versamark ink, then embossed with holographic embossing powder.

I 'antiqued' the chipboard pieces using Tim Holtz's Distress Crackle Paint in Rock Candy (which is clear, and a couple of coats give a lovely spun sugar sparkle - very vintage).

A little on the cute side for me, maybe, but the 50s feel definitely saves them. Nice and colourful, no?

Wednesday, November 23, 2011

SNOWMAN CONFIGURATION BOX

Snowman box - lit up
Here's my Snowman Configuration Box, all lit up. 

Snowman - detail
This one's more for the kiddies, with lots of snow, a snowball under his feet, prezzies... and white bobble braid (more snowballs anyone?)

Detail - little bottles spelling 'Joy', and another bottle with Christmas Cheer spilling out of it (and some more prezzies at the side
Fun, huh?

Friday, November 11, 2011

PINK SATURDAY - GETTING READY FOR CHRISTMAS

My 'NOEL' Configuration box - I'm teaching this next week at Blade Rubber Stamps!
I know it's early, but if you're making your own decorations you really need to start NOW!

My excuse (not that I needed one) is that I'm also teaching a couple of classes shortly, so of course I've got to make my samples. I'm totally in the mood, and can't wait to put up all our decorations on 1st December. So... if you want to make some too (or overhaul the ones you already have) here's some inspiration.

My own wreath, for my Christmas Decorations Special class at Blade Rubber Stamps
Closeup of my wreath for the Christmas Decoration Special class.

The secret with wreaths (and any decoration, really) is lots of dimension, lots of glitz and glitter, lots of reflective surfaces and lots of colour. And lots of lights.

My 'NOEL' box - closeup - unlit
My 'NOEL' configuration box - closeup - lit up (including a little LED light up the skirt of the blown glass angel on top)
The box unlit, in daylight
All lit up for the evening
Closeup of the tree, the other lights and the German glass glitter - this tarnishes a little over time, adding to the atmosphere of the piece
Of course these rules can be broken: white on white, shabby chic, matt surfaces played off against glossy surfaces... don't take it all too seriously though -  it's supposed to be fun after all! If you don't have fun with your decorating, it show!
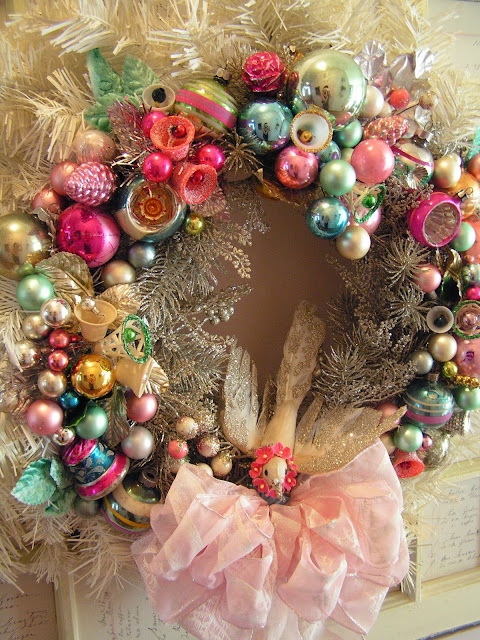
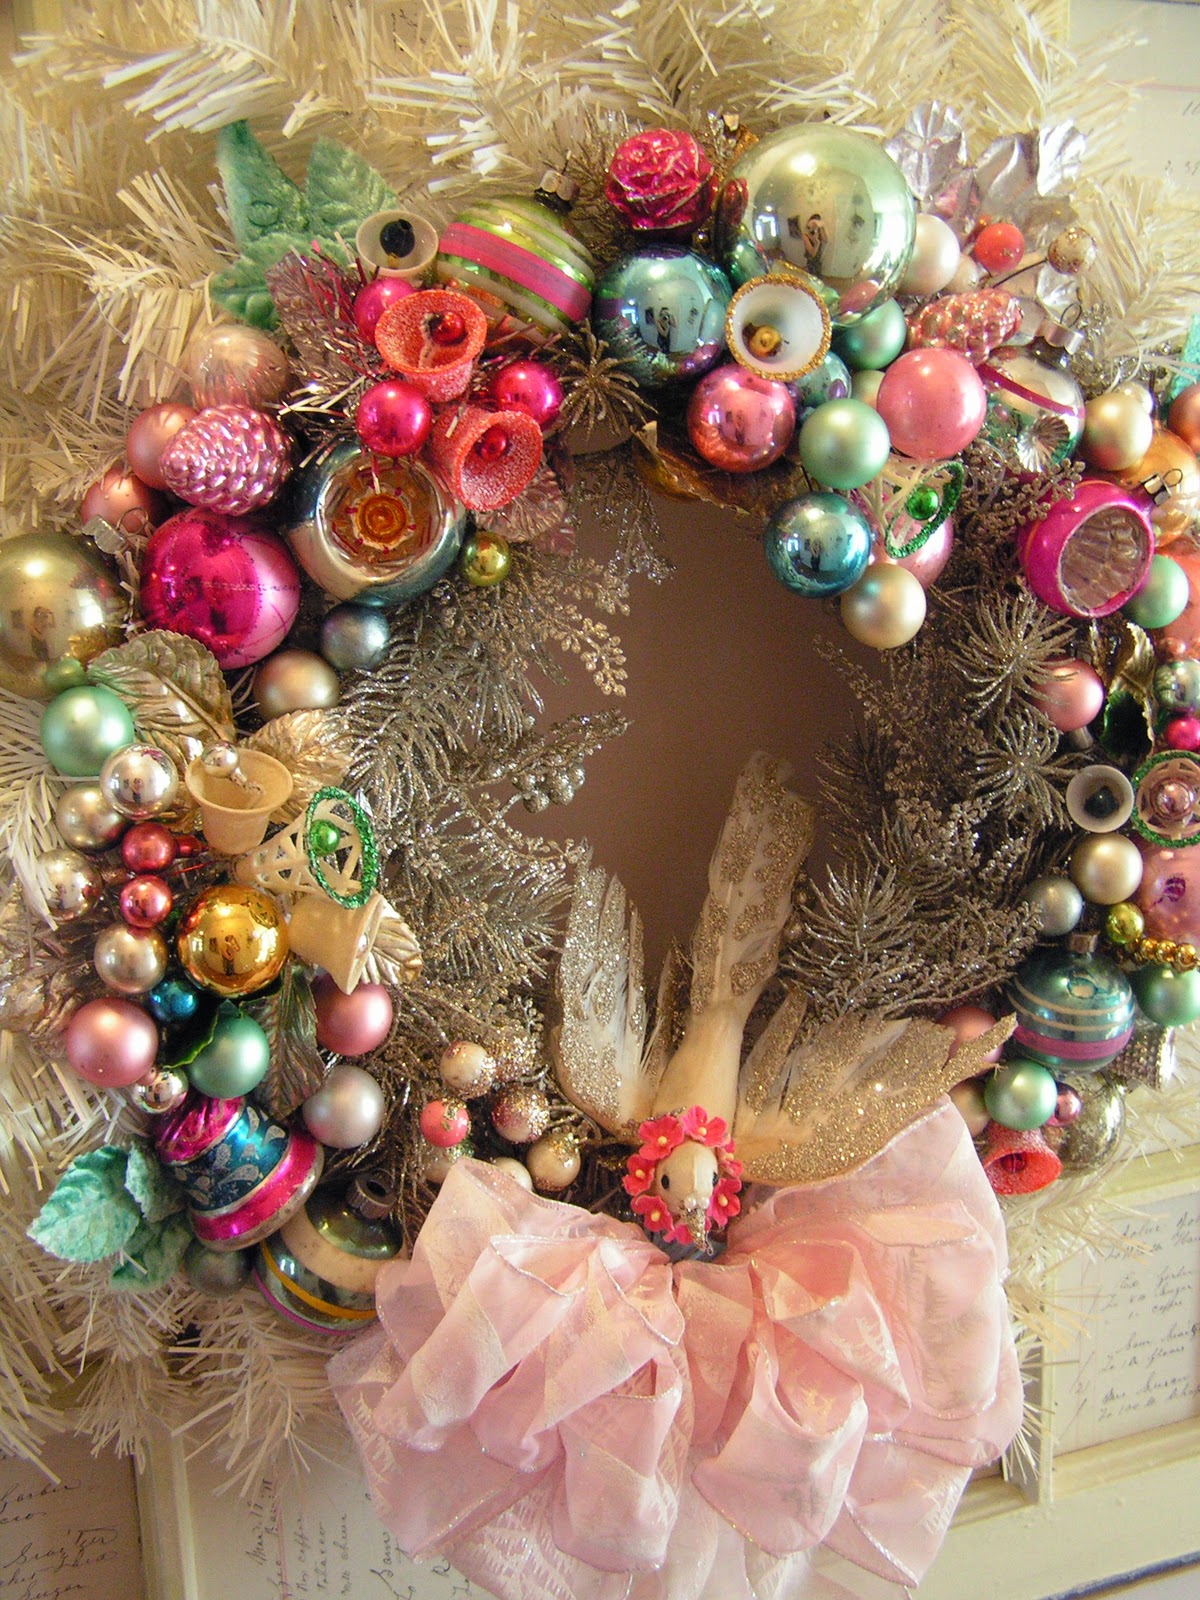
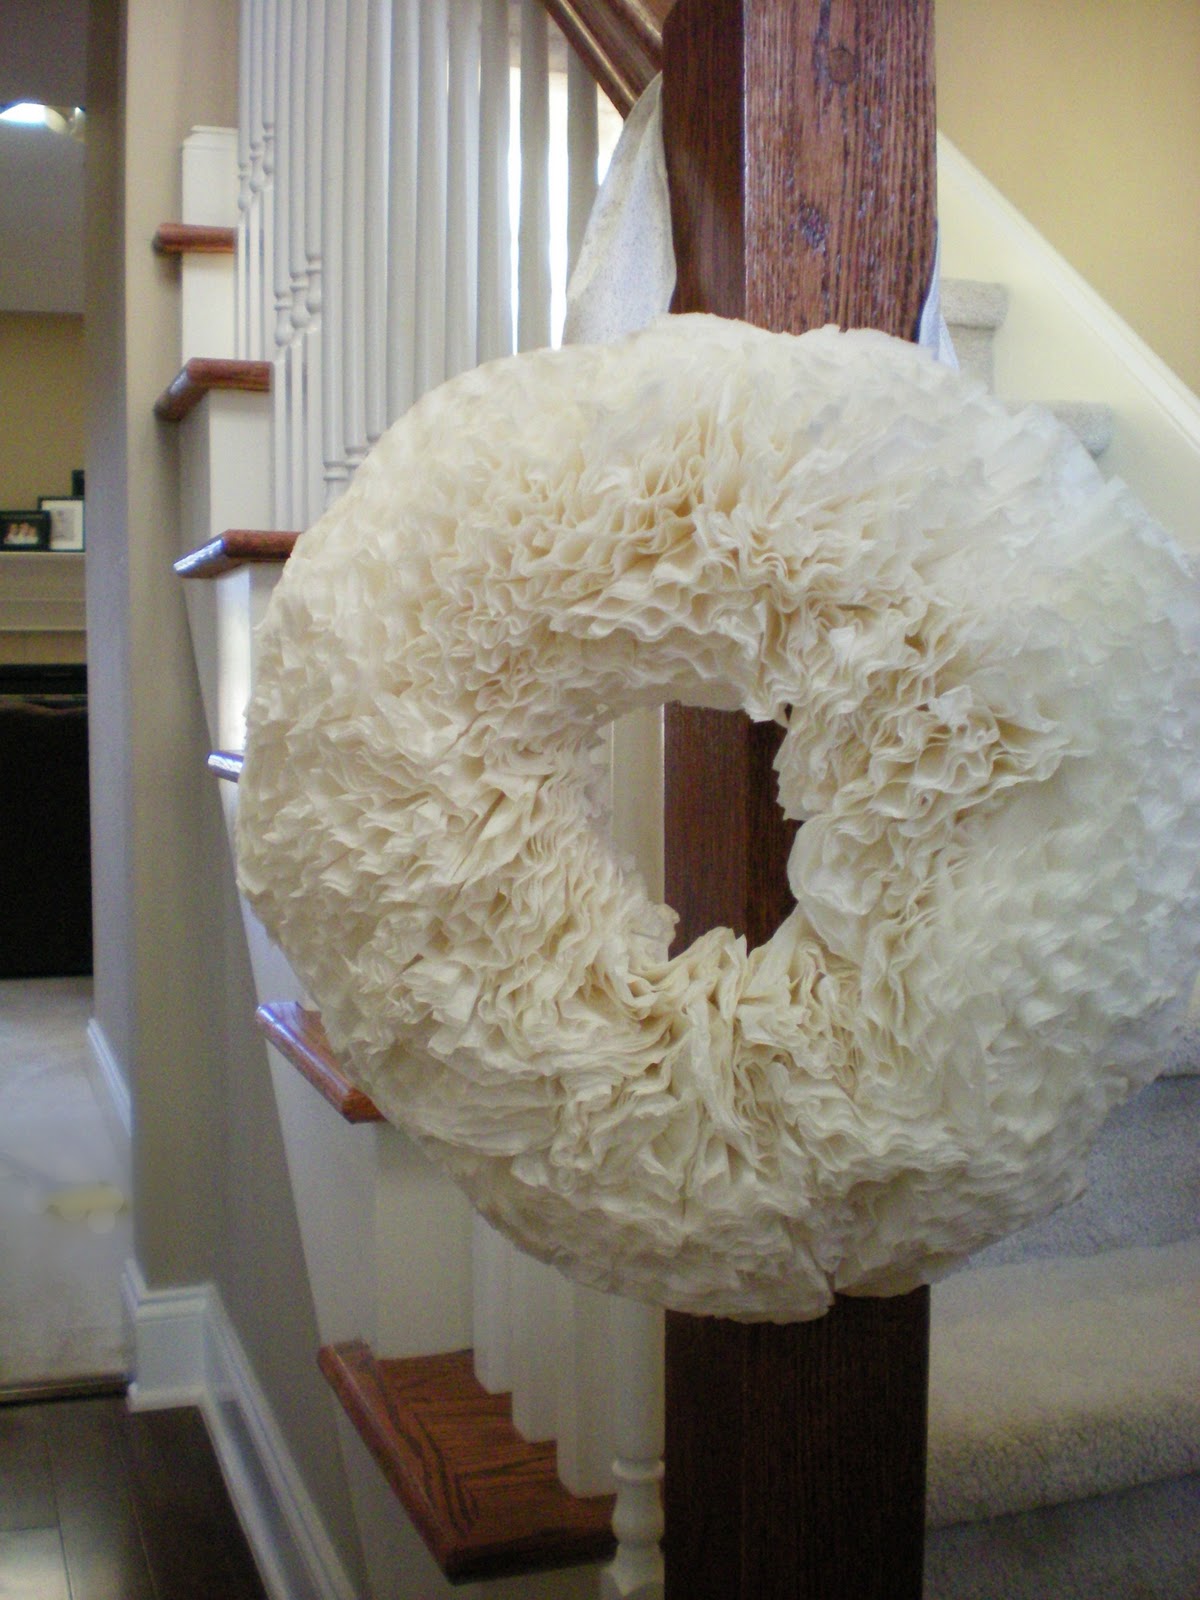
White wreath, pink ribbons and the sweetest little bird - wish I knew who made it! If it's YOU, please let me know
Off pinterest
Copyright HappyDotMom - click this link for the tutorial

Above is some inspiration I've seen online - I am crediting where I can (I lost a lot of my links when my old computer died) so if this is yours, and not credited and linked to you, please let me know so I can give credit where it's due!

Copyright Michele Kovak - tutorial here
I adore the cupcake ornament/place setting above - and can see this will adapt very nicely for snowball ornaments too.

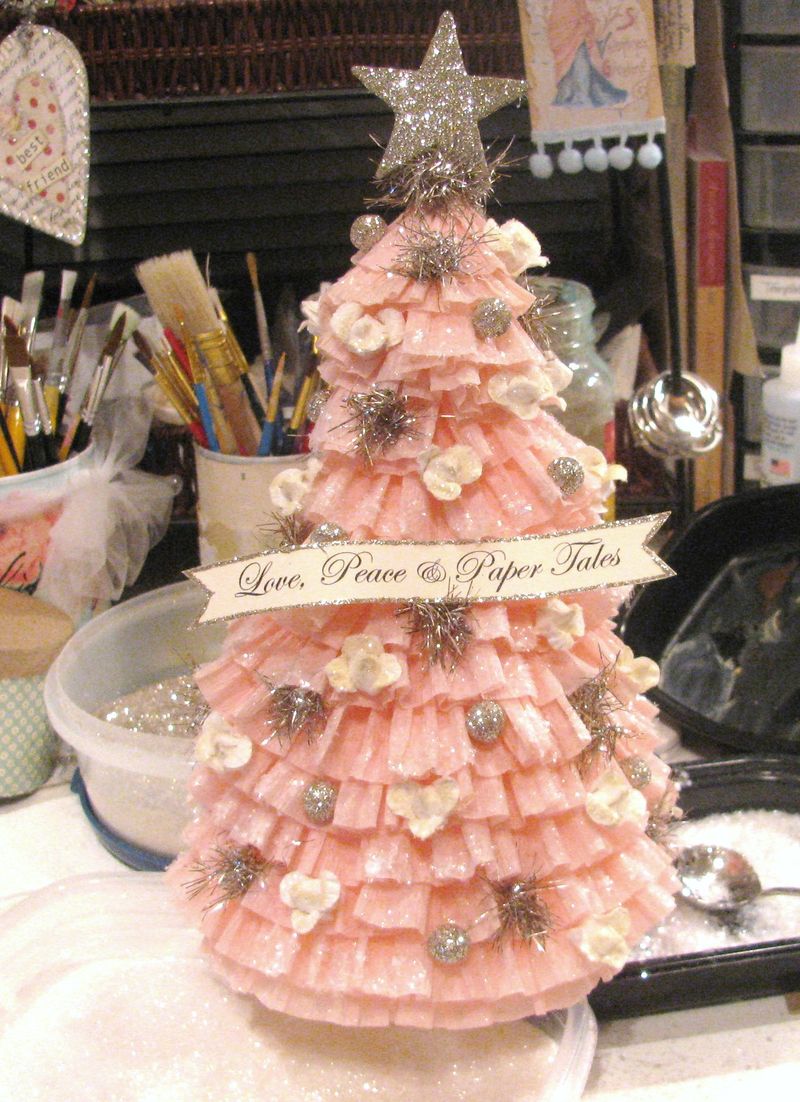
Copyright Karina Guirre at Creative Chaos
Above is the ultimate in do-it-yourself trees by Karin at Creative Chaos - I absolutely adore it.  A wonderful confection of crepe paper, tinsel and glittery balls (with a touch of artificial snow) her tutorial is here.

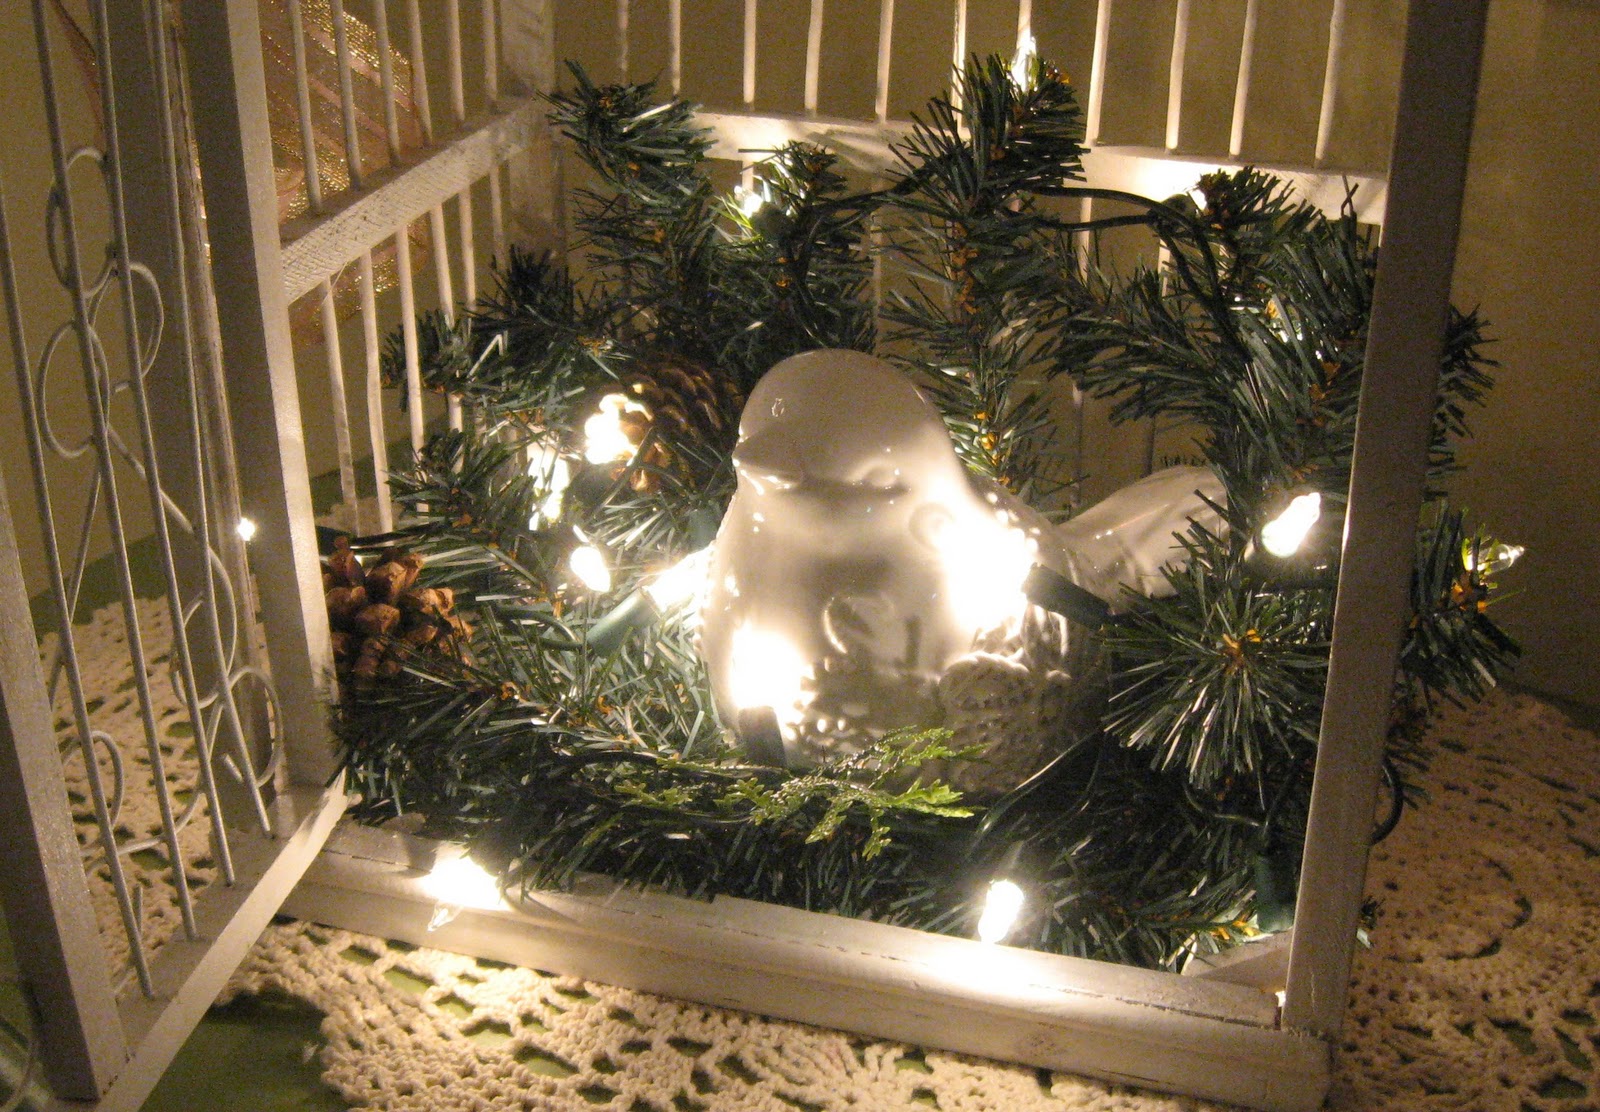
Finally, below is another wonderful display - with and without lights, adapting ornaments you probably already have.
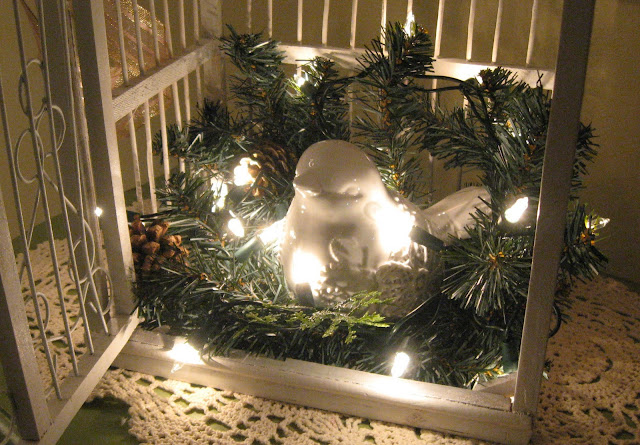
Copyright Sandi for Christmas Pudding
Copyright Sandi at Christmas Pudding - all lit up with LED lights nestling in the foliage
These images are copyright Sandi at Rose Chintz Cottage (who we all know and love)  - who also has this other wonderful blog: Christmas Pudding.As you can tell, I'm highly recommending using lights whenever and wherever possible.

For my freebie Vintage Robins background and header set, go here

Have you noticed Sandi's using my freebie Vintage Robins blog background on her Christmas Pudding blog?

pink saturday

Finally, please visit Beverly at How Sweet the Sound to see all the other wonderful Pink Saturday posts!

Wednesday, December 22, 2010

MY CHRISTMAS DECORATIONS

Deck the halls - or in our case, a corner...
Forgot to show off the photos of this year's Christmas tree! 

The corner behind the tree
From the left, swinging round that corner - the top of the bookcase. The picture is my father, circa 1910, handtinted and oil on board. Wasn't he sweet? Hope you are also admiring that new wallpaper I mentioned back in the Summer.
The tree in all its glory
Swinging round to the right - note the Santa Claus lights on top of the mirror and the snowmen, tinsel, baubles and lights inside the fire. Also the twigs with lights to the right. Nothing exceeds like excess, and you GOTTA have tinsel!
Closeup of the top of the tree - we have a Santa instead of an angel (because I couldn't find one that 'spoke' to me)

How could I forget about posting these the minute I finished decorating the tree? Flu. Bad flu. Ladies' Flu - waaaay worse than Man Flu, because we still have to stagger round cooking, cleaning etc. Anyway, I got those decorations up the 1st of the month - and just realised they are still sitting in a folder on the computer, un-admired, un-bragged about.

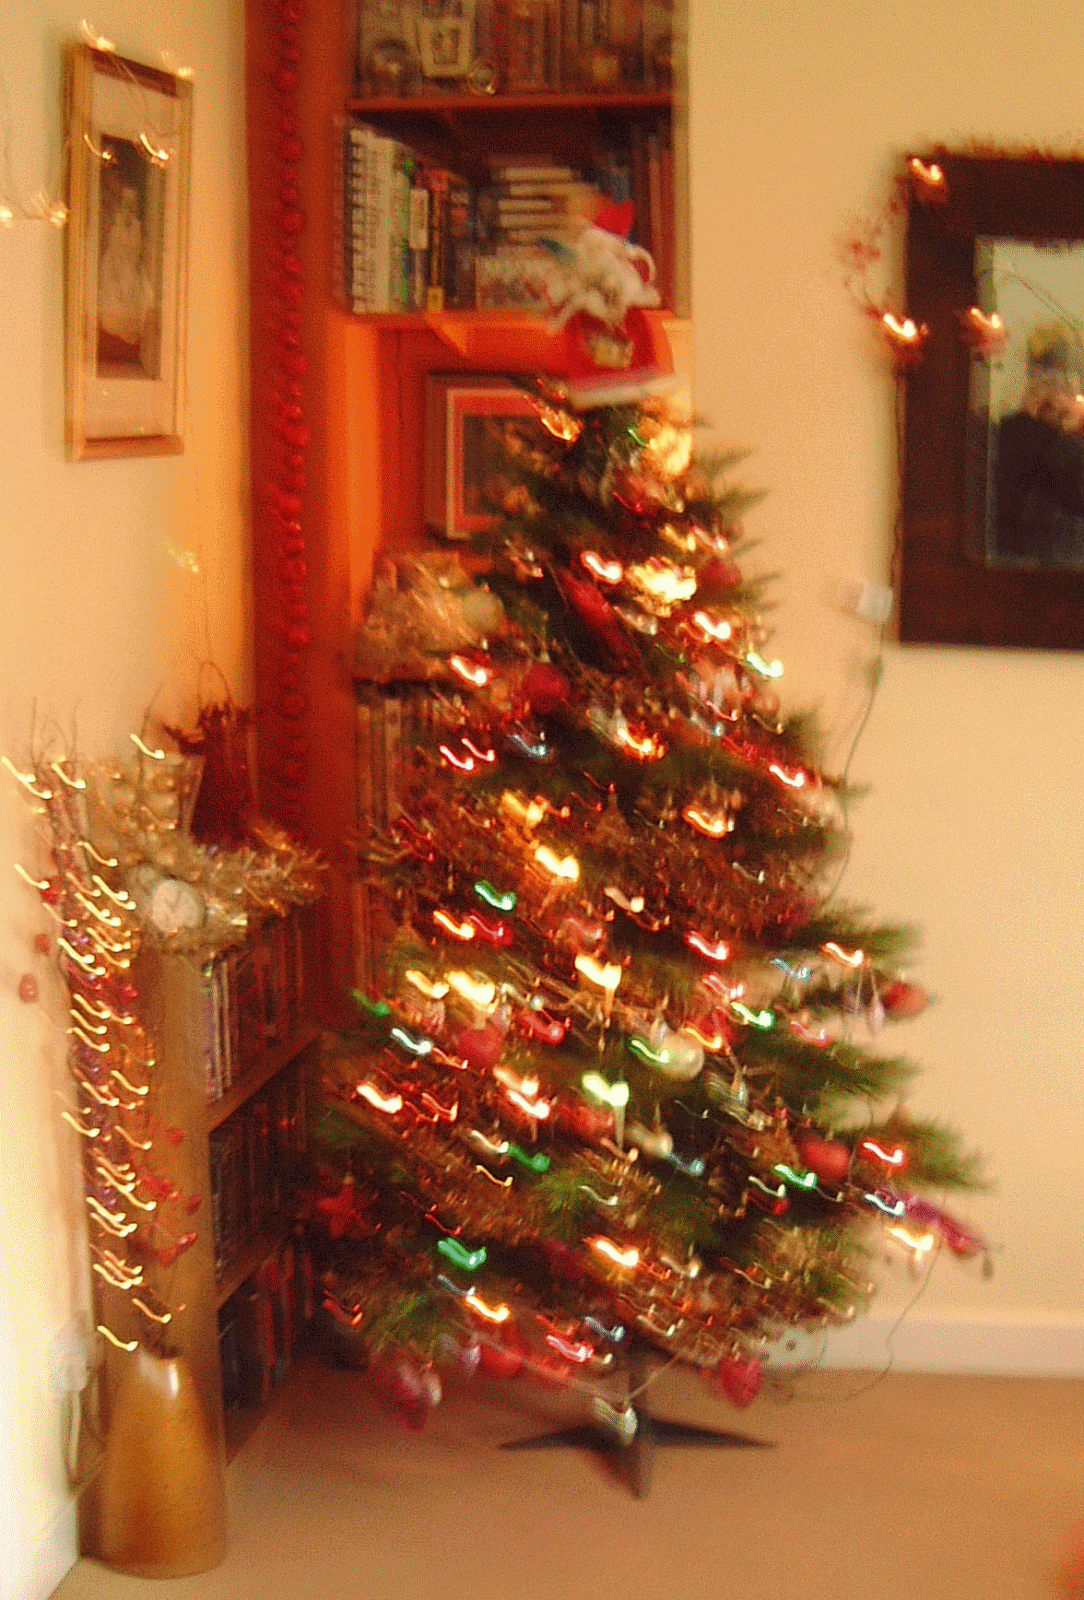
'Bokeh' tree, Christmas 2009
You can see the difference a decent camera makes. My old one, bless it, was never the same after Peter dropped it... it only took 9 pictures then I had to download them before it would take any more. An experience guaranteed to reduce me to a foul-mouthed raving harridan in a matter of seconds - I have enough trouble trying to focus pix correctly as it is (the new camera has a downloadable pdf of instructions, not an instruction book - 135 pages! So who's going to scroll through that lot?)

So I flatter myself this out-of-focus pic (the best of the bunch, incidentally) gives that wonderful 'bokeh' effect. But it's actually just a very rubbish picture.

I also think this year's decorations are way better, although it's the same basic set-up as this is the only corner the tree can go in! The main differences are... go on, spot the difference (NO prizes as I'm telling you the answers) is an extra bookcase on the left, and a fireplace to the right of the tree. Also, I bundled up a white cloth under the tree to cover that awful metal stand.

So there you are!

Friday, December 17, 2010

PINK SATURDAY - ON THE 4TH WEEK OF CHRISTMAS...

It's the 4th week of Christmas! I'm so excited - I love, love, love Christmas and all the hustle and bustle in the run-up to the Big Day. 

SILENT SNOW - copyright Susie Jefferson
Here in London we had a freak snowstorm - all clear around 10.00am - then I forced myself away from the computer to make a coffee, looked out the window, and voila! About 2 inches of snow! (the computer is nowhere near a window, and I simply didn't notice).

Hence this wintry background, using two wonderful photographs (with permission) by Jamie at Art-e-ology.

If you'd like to use my background, just copy all the code below and insert into an html widget right in your blog. This one is 950px and suitable for a 3-column blog, a wide 2-colum blog, the new Designer templates and also some of the freebie WordPress ones (eg: Bueno).
<style type="text/css">
body {background-image: url("http://i659.photobucket.com/albums/uu313/1stFloorFlatComputery/3a1ed415.jpg"); background-position: center; background-repeat: no-repeat; background-attachment: fixed; }
</style>
<div id="tag" style="position:absolute; left:0px; top:50px; z-index:50; width:150px; height:30px;">
<a href="http://1stfloorflatblogology.blogspot.com/" target="_blank">
<img border="0" src="http://i659.photobucket.com/albums/uu313/1stFloorFlatComputery/9061ddc2.png"/>
</a></div>
HEADER
SILENT SNOW png image - copyright Susie Jefferson
http://i659.photobucket.com/albums/uu313/1stFloorFlatComputery/9da4bad8.png
The header is a png file as it has a transparent background with a drop shadow, so for best results use the code below rather than left-click for the full size, and right-click to copy to your computer. If you want to add your own text, download the png and add text using your favourite graphics programme. MERGE the layers (don't flatten) and save as a png before reloading, or you'll end up with a white background instead of a transparent one.

EMAIL BUTTON
Here's a seasonal email button I made - and here's the post with full instructions on how to add your own address etc.

PINK SATURDAY - CHRISTMAS MUSIC

This week on Pink Saturday, the theme is Christmas music. I have so many favourites, it's impossible to choose just one... Click on 'play' if you'd like to hear the music.


MusicPlaylist
Music Playlist at MixPod.com


pink saturday

Finally, please visit Beverly at How Sweet the Sound to see all the other wonderful Pink Saturday posts!