Showing posts with label DIY. Show all posts

Thursday, December 15, 2011

CHRISTMAS TREES... O CHRISTMAS TREES...


Kaye (co-owner of BladeRubber Stamps) and I were chatting, as you do, when I took the wreath in for her shop window - and I happened to mention my Christmas decorations (3 trees this year). Kaye couldn't believe I could get 3 Christmas trees in the one living room. Hah! Oh yes I could!

Panning around the room, starting from the far left, here's Tree No 1 (4ft) next to the television. One of my Configuration boxes to the right of the television.
Closeup of Tree No 1 (4ft): Santa at the top, and two sets of lights, glitter reindeer standing underneath
The TV bench is on the left of this door, lights strung right around up at the ceiling and Tree No 2 (6ft) with 3 sets of lights and another Santa. Another Configuration box is on top of the bookcase.
Closeup, showing Tree No 2's tree skirt. Fireplace on the right.
Tree No 2 (6ft tree) on left, Tree No 3 (3ft tree) next to the computer desk on the right. Fire in the middle, with Santa lights on the mantlepiece. Tree No 3 has only the one set of lights and now feels very underdressed.
That's it for now... you can tell I just adore Christmas!

How are your decorations coming along? Got your tree up yet?

Friday, December 9, 2011

PINK SATURDAY - TOOL KIT PREZZIE

Decoupaged tool kit for the geek in your life (or your DIY drawer)
I'm sure everyone is like me: frantically busy, just a little broke, and therefore looking to give handmade prezzies (that don't look HOME made - there is a difference). So I thought a quick and easy project might be just the job! Perfect for anyone, and unusual too! It's a TOOL KIT!

This was inexpensive, but doesn't look too cheap (although the plastic case was a dead giveaway, hence the decoration)
This is just a cheap basic tool kit you'll find in most hardware stores, a good size for changing plugs and other small electrical stuff (women need to be able to do this too, lol) also poking holes in signatures for books, levering out staples, prising drawing pins out of walls etc.

Front and back prepared in exactly the same way - just change the positioning of the decorations

PREPARATION

As it's plastic, it's rather slick and not good for gluing, so sand a little first, just enough to roughen the surface (use an emery board if you don't have sandpaper).

DECORATION
  • Couldn't be simpler: leftovers of scrapbooking paper for the front and the back, cut to size. 
  • Collage the ticket on first, then overstamped some text (using Staz-On ink).
  • The dots were Punchinella (sequin waste) used as a stencil, stippled with acrylic paint. Move the stencil and stipple again, creating a drop shadow using a metallic paint. 
  • Finally, decoupage a vintage scrap image of a clown's head.
 I used PVA (white glue) throughout. Mod Podge is also good.

Next step: glue to the tool kit using a good quality strong glue such as Crafter's, Gorilla, Aleene's Tacky Glue or use double-sided tape. You don't want this peeling off at a later date.

Finishing touches: I ran a metallic gold pen round the edges, then applied a single coat of clear acrylic varnish for protection.

TIME TAKEN

Very fast - took around 2 hours including coffee and biscuits, and drying time!

pink saturday

Finally, please visit Beverly at How Sweet the Sound to see all the other wonderful Pink Saturday posts!

Friday, November 11, 2011

PINK SATURDAY - GETTING READY FOR CHRISTMAS

My 'NOEL' Configuration box - I'm teaching this next week at Blade Rubber Stamps!
I know it's early, but if you're making your own decorations you really need to start NOW!

My excuse (not that I needed one) is that I'm also teaching a couple of classes shortly, so of course I've got to make my samples. I'm totally in the mood, and can't wait to put up all our decorations on 1st December. So... if you want to make some too (or overhaul the ones you already have) here's some inspiration.

My own wreath, for my Christmas Decorations Special class at Blade Rubber Stamps
Closeup of my wreath for the Christmas Decoration Special class.

The secret with wreaths (and any decoration, really) is lots of dimension, lots of glitz and glitter, lots of reflective surfaces and lots of colour. And lots of lights.

My 'NOEL' box - closeup - unlit
My 'NOEL' configuration box - closeup - lit up (including a little LED light up the skirt of the blown glass angel on top)
The box unlit, in daylight
All lit up for the evening
Closeup of the tree, the other lights and the German glass glitter - this tarnishes a little over time, adding to the atmosphere of the piece
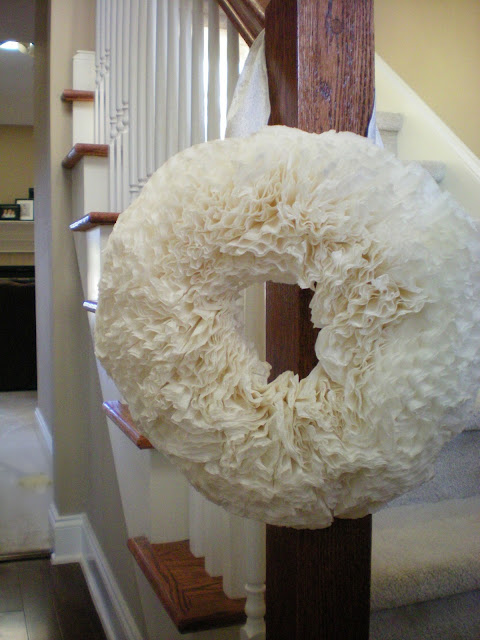
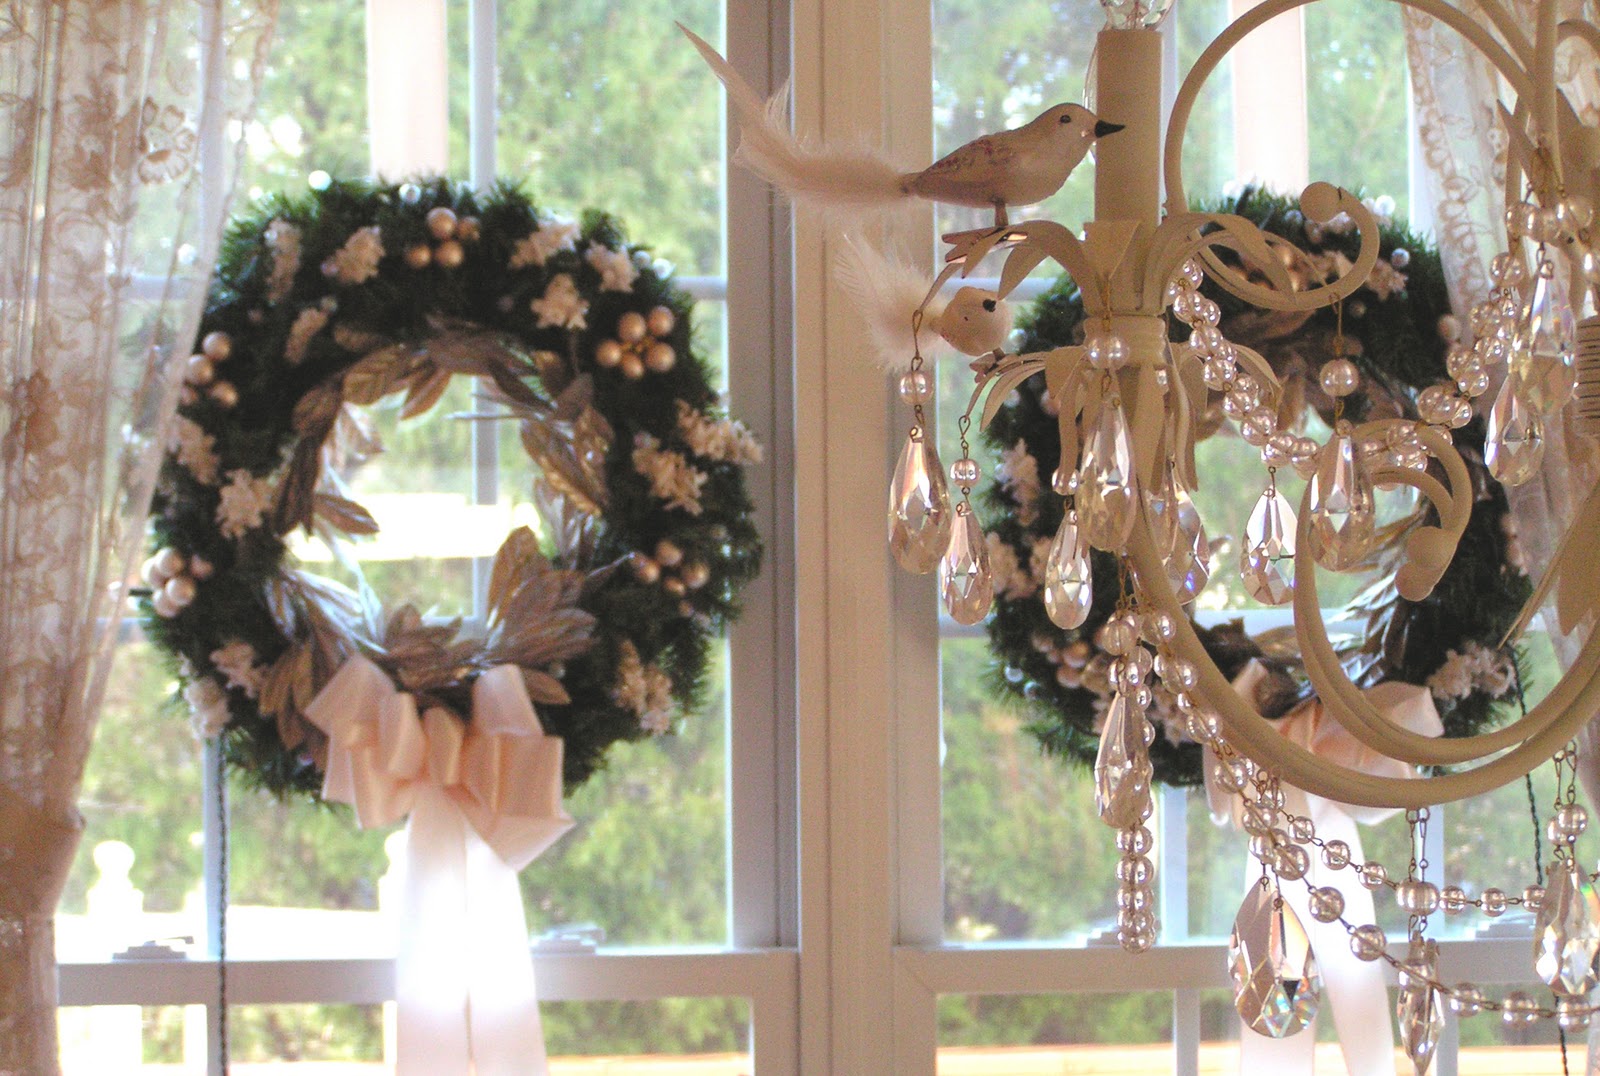
Of course these rules can be broken: white on white, shabby chic, matt surfaces played off against glossy surfaces... don't take it all too seriously though -  it's supposed to be fun after all! If you don't have fun with your decorating, it show!
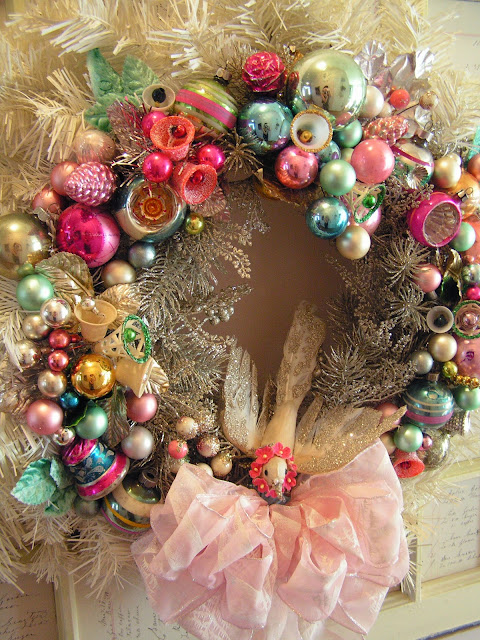
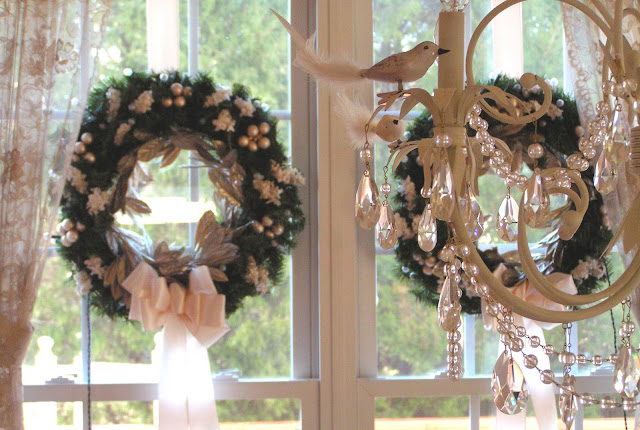
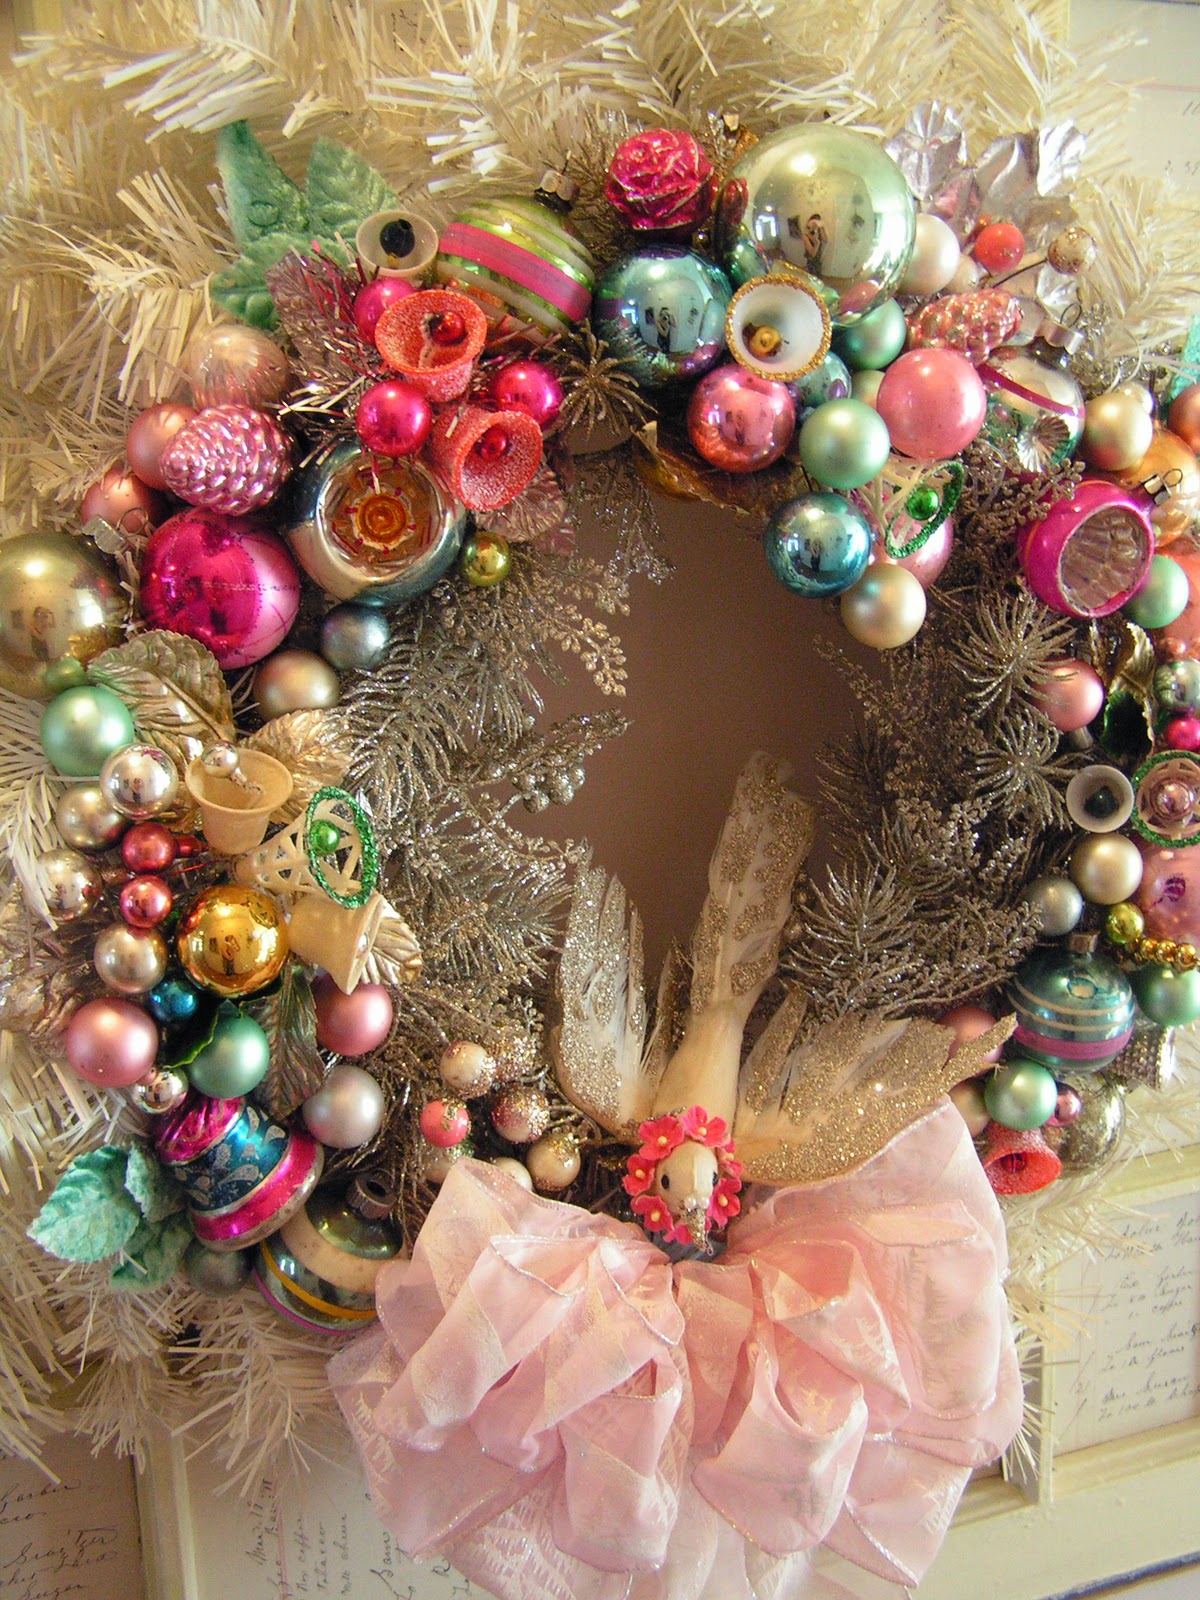
White wreath, pink ribbons and the sweetest little bird - wish I knew who made it! If it's YOU, please let me know
Off pinterest
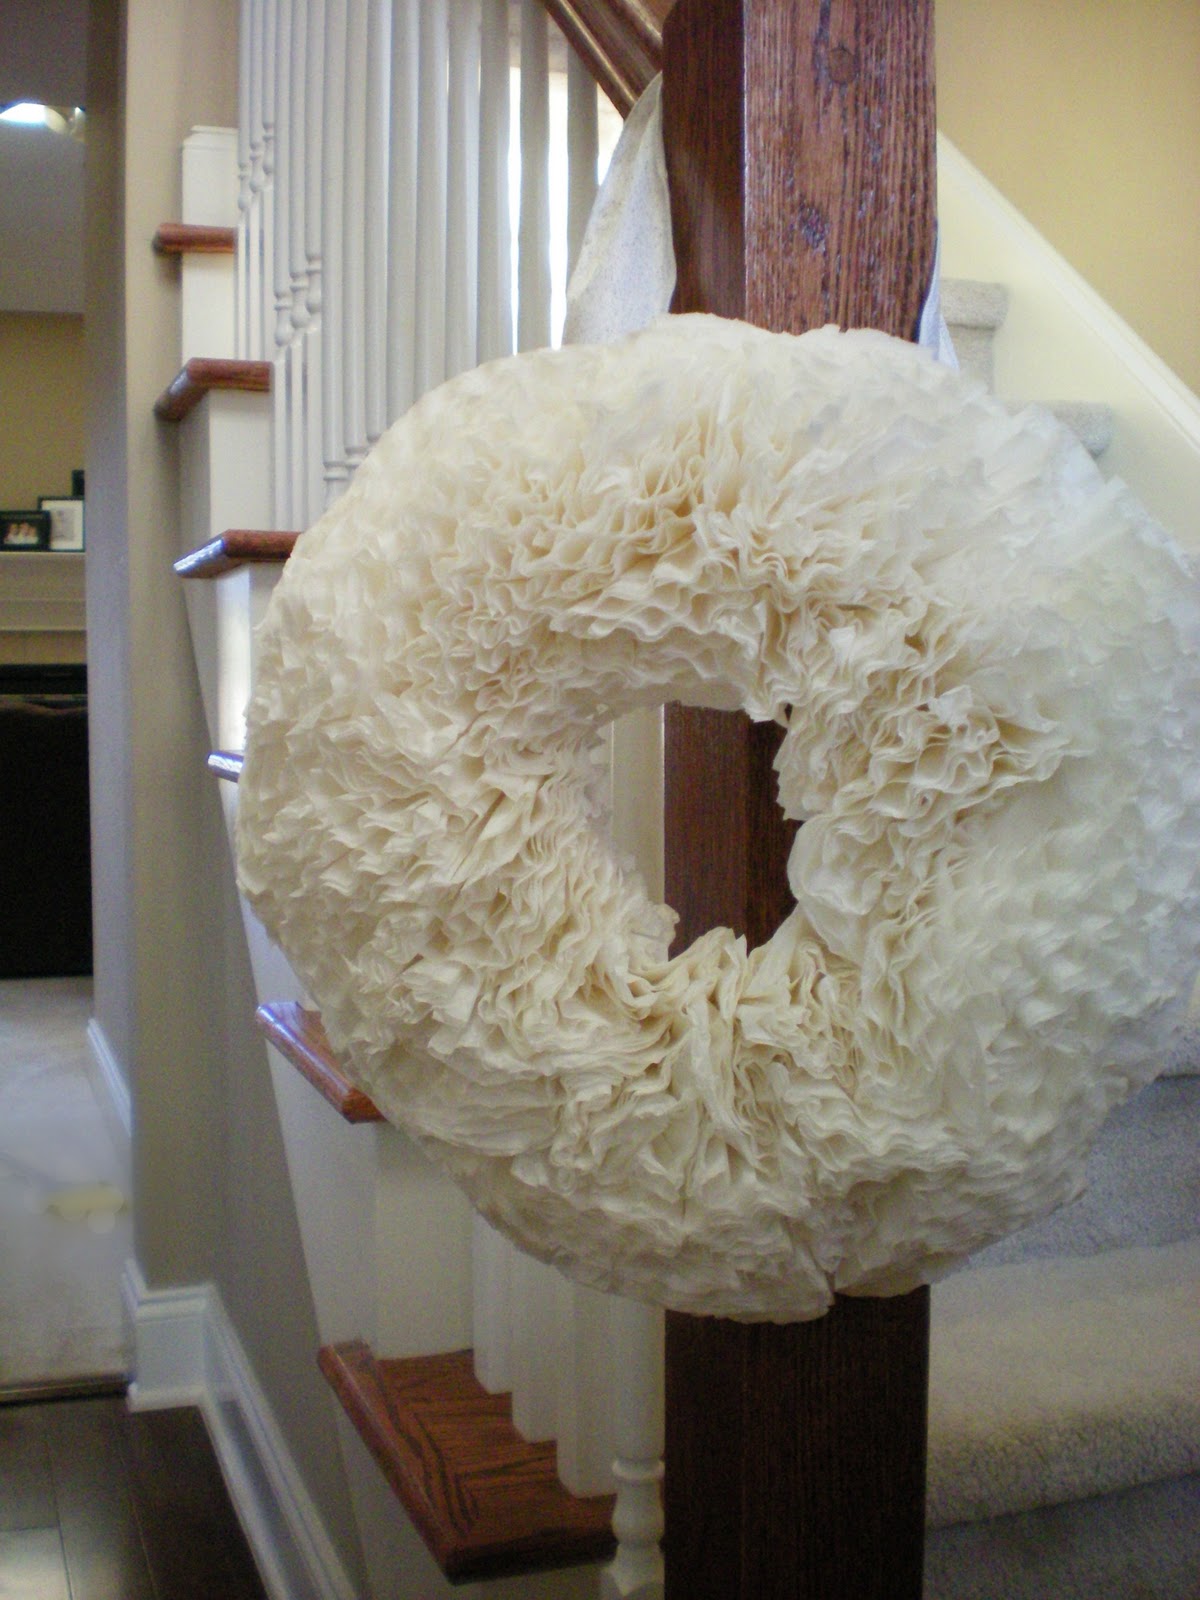
Copyright HappyDotMom - click this link for the tutorial

Above is some inspiration I've seen online - I am crediting where I can (I lost a lot of my links when my old computer died) so if this is yours, and not credited and linked to you, please let me know so I can give credit where it's due!

Copyright Michele Kovak - tutorial here
I adore the cupcake ornament/place setting above - and can see this will adapt very nicely for snowball ornaments too.

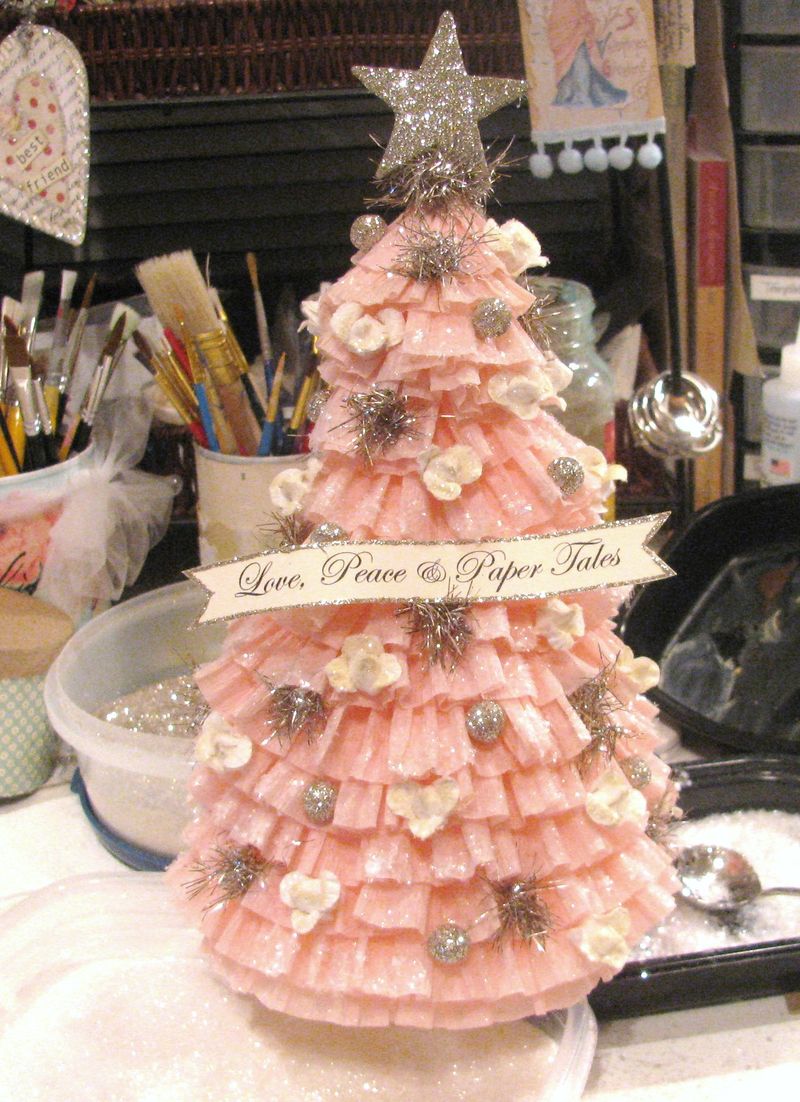
Copyright Karina Guirre at Creative Chaos
Above is the ultimate in do-it-yourself trees by Karin at Creative Chaos - I absolutely adore it.  A wonderful confection of crepe paper, tinsel and glittery balls (with a touch of artificial snow) her tutorial is here.

Finally, below is another wonderful display - with and without lights, adapting ornaments you probably already have.
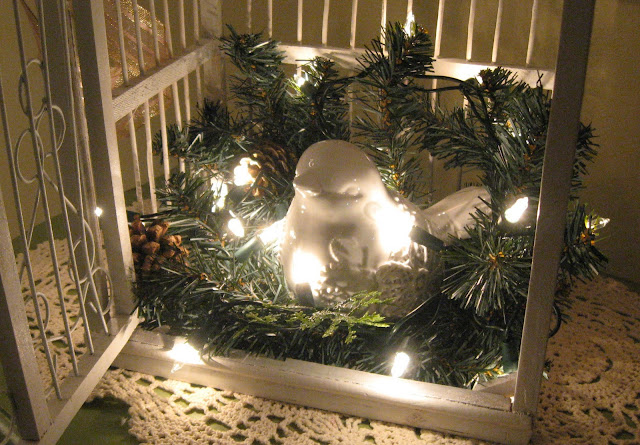
Copyright Sandi for Christmas Pudding
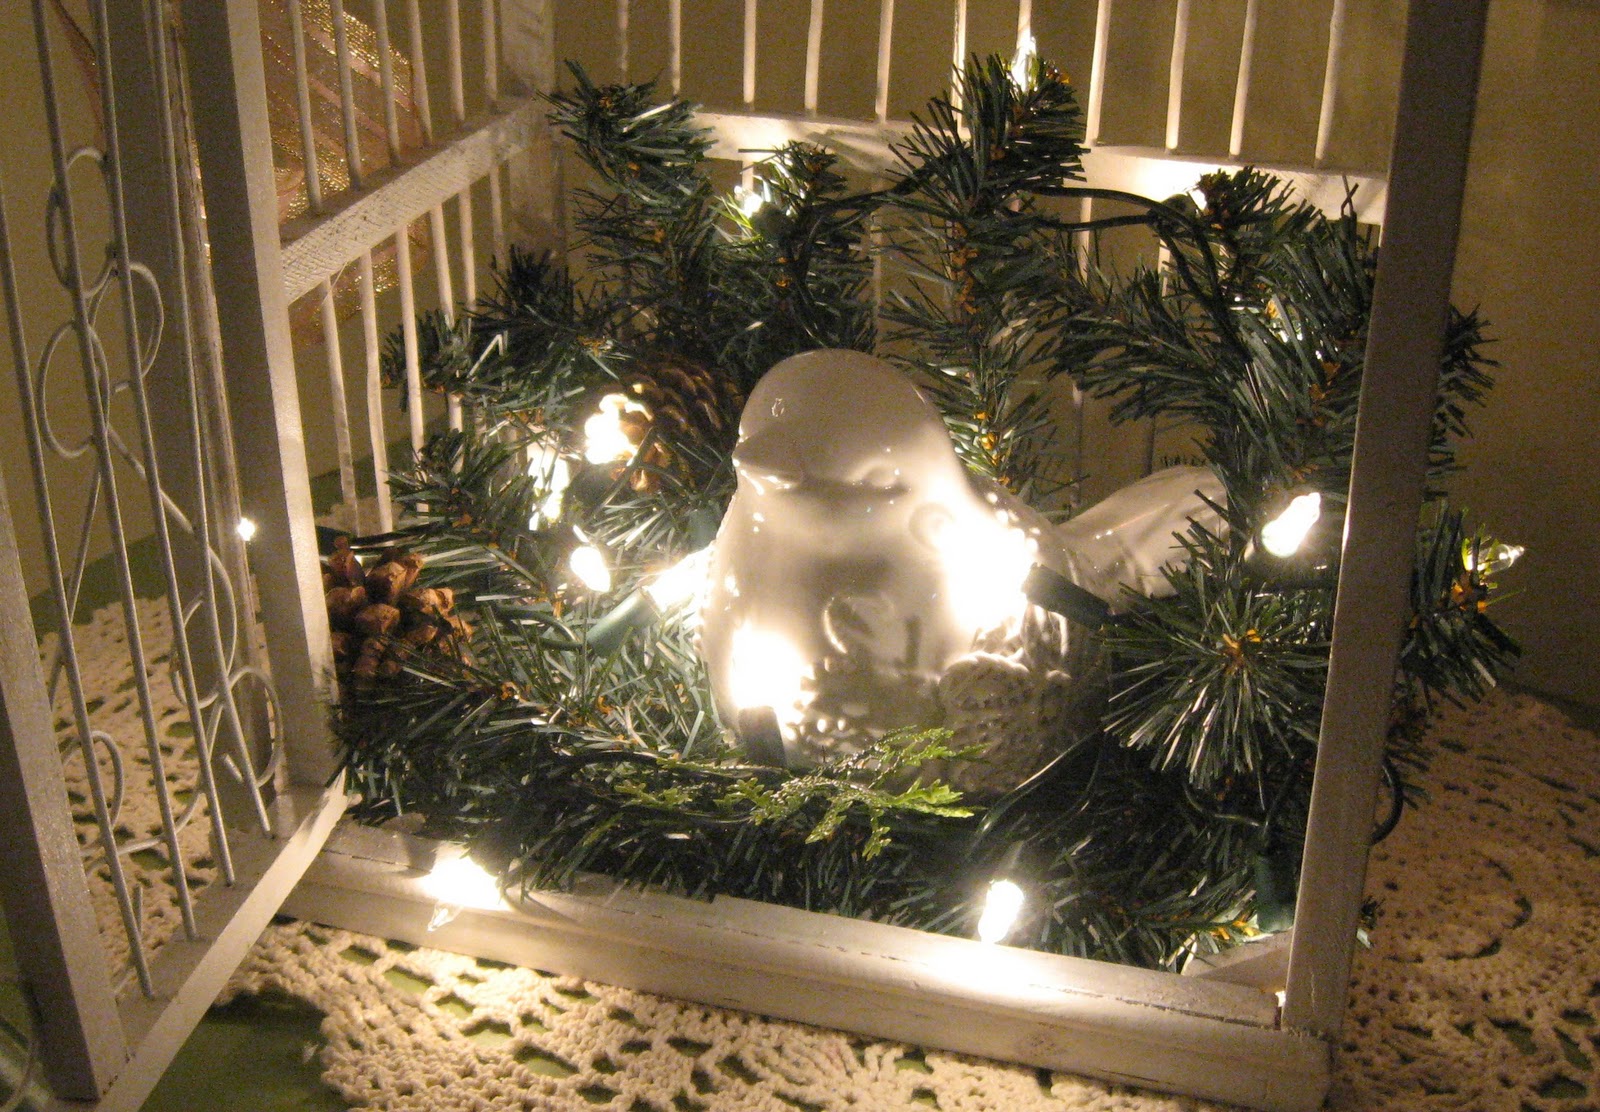
Copyright Sandi at Christmas Pudding - all lit up with LED lights nestling in the foliage
These images are copyright Sandi at Rose Chintz Cottage (who we all know and love)  - who also has this other wonderful blog: Christmas Pudding.As you can tell, I'm highly recommending using lights whenever and wherever possible.

For my freebie Vintage Robins background and header set, go here

Have you noticed Sandi's using my freebie Vintage Robins blog background on her Christmas Pudding blog?

pink saturday

Finally, please visit Beverly at How Sweet the Sound to see all the other wonderful Pink Saturday posts!

Wednesday, November 9, 2011

ART SPACE MAKEOVER PHASE 2 - IT ALWAYS GETS WORSE BEFORE IT GETS BETTER

Even more stuff over by the fireplace. The computer area to the right (other end of sofa just showing in the photo) is reached by stepping VERY carefully.
So far so good. It seems to be a universal law that everything always looks worse before it gets better when you're trying to do any kind of makeover. All that stuff has to get pulled out before you can put it back again.
The computer area (sofa to the right, fire to the left). Sorry about the blurry picture - my elbow jerked. As you can see, more piles of stuff (and I'd tidied this at the weekend). Sometimes, I despair...
SO: much moving of stuff - and I've found I'm my own worst enemy, moving something only to find I'm in my own way again. I spend much of my time moving one heap of stuff to another area, then having to move it again as it's just where I want to put something else. Very frustrating!

First coat of paint, applied with a foam brush
The tabletop is a huge piece of MDF we had cut to size, and I used it as it was - brown and impossible to see if there was any dust or glitter on it. So much use of scrap paper (which meant keeping a pile of scrap paper close to hand - more clutter).

Magic or what? Some change, eh? I'm very pleased with it - AND I didn't drip on the carpet.

So I turned it over to the clean side, and gave it two coats of watered down emulsion paint (left over cream from the walls) diluted 50:50 to the consistency of single cream.

I then gave it two coats of Klear to protect it. Can't believe how it's brightened that corner! Plus I can see any debris. And wipe it clean.

We're getting there... more photos tomorrow if I can find the charger for the camera (been looking for 2 days!)

INTERIM - STORAGE IDEA

Copyright Jamie at TheCreativeImperative

Just saw this on The Creative Imperative blog - a great idea for kitchens but also for studios! Tutorial is here.

If only I had higher shelves (Himself has really put his foot down re more shelving. He knows it would be creeping up towards the ceiling - and it IS a living room, and he does live here too...).

I would think it needs double the height of the jar plus a couple of inches for clearance. Great idea though!

Tuesday, November 8, 2011

ART SPACE MAKEOVER PHASE 1 - THE 'BEFORE'

View of my entire desk area, crammed into the corner (door into hallway is on the right) with a trolley positioned at the end of the table top. Plus a lot of stuff on the trolley, under the trolley, next to the trolley, creeping across the floor...
I'm very ashamed to admit it - I've actually got to the point where I can't stand it any more - my art space is such a mess I can't find anything, and I just can't WORK!

Closer view - see how cluttered the desk actually is? I'm trying to finish my Christmas Configuration box here, and everthing is awash with extremely itchy glitter (did I tell you I'm allergic to dust?)
The main problem is that I'm extremely restricted for space as I work in the living room - at one end - with computer area at the other end, and the sofa and TV etc in the middle. And my poor long-suffering husband finally said enough was enough. And he's actually right - it was getting so out of hand I really didn't know where to start.
View from a slightly different angle. This window is tiny, and in what used to be a long and narrow hallway before this section of the hallway became integrated with the living room, and the door moved. At least I have some good natural light coming from the left.
The left side of the desk, next to the wall and under the window. I'm in the corner of the room (the dark brown you can see on the far left of the picture is our sofa, with the back of my art chair facing the arm). I've crammed in 3 Ikea wood shelf-storage thingies, plus a little bamboo shelf unit (from a junkshop) which needed a good wash. I sprayed it white.
The kneehole section under the desk. Can't even get my feet in there (which is why my chair is jammed up against the arm of the sofa).  I have to stretch and reach over to get at anything. I've got one of those rubber-backed scrubbable mats under the work area to try to keep paint drips etc under some sort of control.
The other end of the room. There's actually a rather nice fireplace and some bookcases under all the mess.
So I'm being really brave and showing you the 'Before'. You'll see the 'During' and the 'After' over the next couple of posts.

Tuesday, June 28, 2011

RIBBON STORAGE IDEA

Copyright Funky Junky
I saw this on Spunky Junky blog - and like all good ideas, the simplest is the best!This was definitely a 'Duh!' moment, as in 'Why didn't I think of that myself?'

Copyright Funky Junky

Grab yourself a couple of dowels (sticks from a garden centre? old [clean] chopsticks? unwanted knitting needles?) and go make your own.

NOW all we need is some way of stacking the containers elegantly so they look good in our crafting spaces, and also so they don't fall over....

Wednesday, January 12, 2011

KEYBOARD WOES

Dunno if it's happened to you? All the letters on your keyboard wearing off?


Well, it's happened to me - I wouldn't mind so much, except the keyboard was REALLY expensive (£75 around 18 months ago) and the letters started wearing off in the first 6 months.

Left side
Right side
I touch-type, so it wasn't too bad at first - but after the latest computer crash (just after Christmas, hence the dearth of posts) I really noticed the lack. Have you tried typing in passwords when you don't know what the letters are? Even if you touch-type, trying to think which letter is where is a nightmare!

Plus, I had the flu - twice (New Year's Eve I was in bed before 10.00pm) so when I got back to the computer, fuzzy brains didn't help.


So I solved it myself (can't afford a new keyboard at the moment - not at that price - and mine isn't one that's easily obtained everywhere) by using expoxy alphabet stickers and a good coat of Diamond Glaze!
  1. First thing to do is make sure there is no grease on the keys (I used a dishcloth wrung out in HOT soapy water, then wiped with more dishcloth rinsed in clear hot water). Make sure that keyboard is disconnected from your machine, and completely DRY before you reconnect or you could get electrocuted!
  2. Draw round the edge of the shape with the nozzle of the bottle, then flood with glue (make sure it's on a flat surface as this stuff acts like self-levelling concrete and you don't want it dripping inside the keyboard).
  3. Allow to dry overnight (it will dry clear and rock-hard).

Left side
Right side
Yes, it's been a great success and will do me for now till I see an affordable new one.

The only downside is that I can feel the raised surface of the epoxy stickers, but am getting used to it. No letters have come off so far!

Tuesday, March 23, 2010

STORAGE TOTE SOLUTION

I just saw this brilliant idea! How many of you have this scrapbooker's tote, but aren't all that happy with it?  Dymphie at Papieren Avonturen has come up with the perfect solution to turn it from this (pink, floppy):

 Photo copyright Papieren Avonturen

to this! 

Photo copyright Papieren Avonturen

Dymphie's tutorial shows you how to make a SOLID drawer (using greyboard/chipboard/book board), which strengthens up the whole structure - and personalised it!

So if you aren't a 'pink' person, or it doesn't go with your studio decor, you can colour it exactly how you like it. I might just buy one of these now.

FUN WITH PLASTER - DOILIES

Marianne at Songbird (I've menitoned her wonderful blog before) has created this wonderful idea which I really must try for myself:


By using plaster with old doilies, she has created wonderful ... vases? containers? tea light holders? Call them what you will, they are just magical!


Click on this link for the full (delightful - and easy) tutorial.


Aren't they just magical?