Sunday, February 27, 2011

TIM HOLTZ FRIDAY & A VERY UP-AND-DOWN SATURDAY

I'm happy to announce that on Tuesday I got my hair hacked off again (I'm just amazed my hairdresser didn't use gardening shears, lol).
Me with Tim last Saturday- old hair - I look like my own mother!
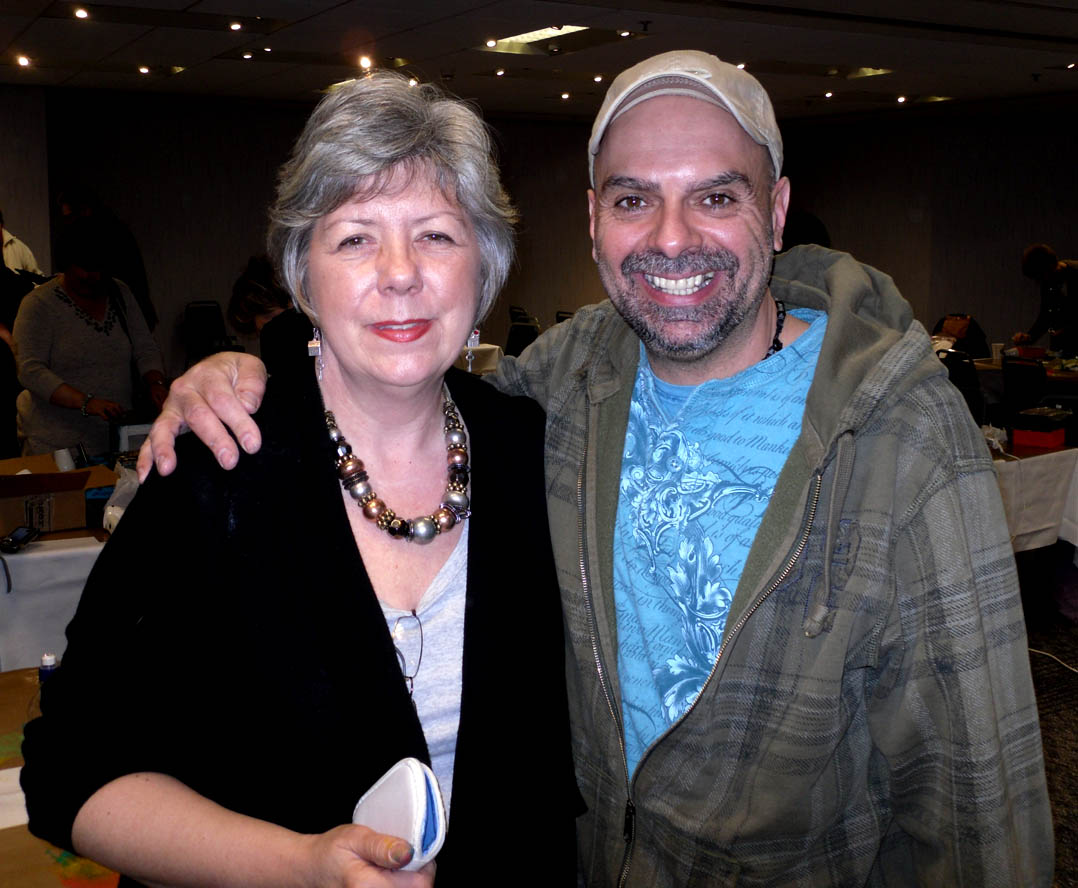
Me with Lin Brown on Friday - after haircut: I look 15 years younger, 1 chin less and 10lb thinner!
First, just to let you know, my camera failed me and I only managed to take around 10 photographs at the Tim Holtz gig.

So I am waiting on my three friends to forward me theirs as soon as they get a chance (we're all v. tired after our couple of days away). As our morning session was with Lin Brown (LB Crafts) and Leandra Franich (PaperArtsy) doing a really fun project - of which, more later...  I only have some of those photos - and none of the afternoon session with Tim! I could have cried...

The camera has been acting up, and it just died - with the viewfinder extended open. I had to recharge it just to get the camera to shut down again. Then it wouldn't work at all. I've only had it 18 months - so yesterday morning (Saturday) I took it straight back to Currys. The manager tested it, and it froze on him as well, so he me an IMMEDIATE REPLACEMENT! So, for once, the extended insurance cover paid off.
Much as I love the design, I could have done without the 'girly pink' - red would have been great!  I didn't dare say anything, though,  being as the manager was being so helpful and even loaded the memory card for me.
So back went the Samsung and I now am the proud possessor of the Canon Ixus 105, and as I got a full credit for what I'd already paid (plus the 8mg memory card from the Samsung is compatible with the Canon) it only cost me another tenner! You'll see Amazon (the above link, so you can see pix & reviews) is offering the camera half list price - I paid The Exact Same Price at Currys!

So I'm even more pleased, as I see I got double the value I thought I'd got, and have by some miracle gotten an upgrade. Plus: the manager promised me this one is idiot-proof AND very easy to use. I noticed it comes with a Very Short instruction manual (more of a booklet) which immediately filled me with confidence. I never got off the auto setting on the other one - which did not come with a manual, only a 135-page downloadable pdf, which did NOT thrill me. I started reading, the eyes glazed, the brain hurt and I gave up, and just set onto Auto. I am not a good photographer - I'm stricly point&shoot. It's the digital manipulation (Photoshop, Serif Craft Artist Platinum etc) that I enjoy.

My with Dyan last Saturday at the NEC - in spite of blow drying, some product and finished with a little wax, the hair has gone vertical (but in a very strange way) and is dull and frazzled.

Me - new haircut - with my PaperArtsy/LB Craft painted metal 'bits' prior to a bit of sanding. Ta Daaaah!
Having seen my photos at the NEC gig (scroll down to read that post) I looked like my own mother. So one haircut later, I have (according to my husband, two friends and my mirror) lost 15 years, 1 chin and around 10 pounds - not bad for a £35 haircut!  I feel 'myself' again. I was trying to go for a bob, having got bored with having it so short - but I'm now resigned to it (I used have it long and wear it up in a pleat or French plait) but since it went grey the texture has changed so much that it just doesn't handle the same any more. And it grows so fast I need a trim around every 4 weeks, so colour is out the question (roots really noticeable after 2 weeks, and I look EVIL with blonde streaks...) plus I'm quite happy with the grey.

I think it looks distinguished, plus my glasses make me look vaguely intelligent. On the other hand, what do I know? I just hope this cut doesn't go out of fashion... then I'll be really stuffed... Hair is SO important. If it doesn't look right, I don't feel right.

Enough digression! Back to the Tim Holtz Event:  it was wonderful, 'nuff said, and I shall post in detail later - when I get the other the pix sent through. I got back very late Friday night having travelled with Sue (Designated Driver, with spiffy red car) and Liz (fellow traveller, who also lives in London).

Happy Post Day

Saturday (yesterday) was Happy Post Day - my Vagabond arrived, along with my Tickets, Film Strip and Vintage Market plates!
 
I have various other dies (Tattered Flower, Birdcage etc) and have been using them with my purple Wizard (Spellbinders) but have been wanting to Go Electric for ages and have been waiting and waiting and waiting for this machine! Even Peter (my very long-suffering husband) has agreed the Vagabond is a Very Smart piece of kit which he's quite happy I leave out on display (I have a desk in the corner of the living room). It comes with a sheet of stickers so you can decorate it - or not - as you see fit.

BRAG TIME: At the gig, Tim gave us some fabulous goodie bags, and included was a special commemorative sticker - made especially for this event - for the Vagabond. And I got mine autographed as well! So I'll have to dither around now, deciding on placement of stickers - could take weeks! Decisions, decisions, lol...

That wasn't all on Happy Post Day ... I also got my free book:


If you buy Galaxy chocolate in the special wrapper, eat your chocolate then look in the wrapper - then go online, type in your details and their code ... you get a free paperback! I applied on Tuesday and yesterday got Her Fearful Symmetry by Audrey Niffenegger - the author of The Time Traveller's Wife! With a free bookmark - fantastic or what? (And how FAST - and I love the chocolate)!

So, once I get all the photos sent to me, I'll do a proper post with full rundown on Lin & Lendra's project, plus Tim's Construction Boxes.

Wednesday, February 23, 2011

I'M OFF TO SEE THE WIZARD - AGAIN!


You'll all be eaten up with jealousy now... I'm off for another Tim Holtz workshop! And another stay in a hotel, which is exciting in itself (I don't get out much).

I have just finished my next piece for Craft Stamper, so only have to proof-read it in the morning and then post it ... rush home and get packing ... then I'm on my way again. 

I made journals for the three friends I'm going with (each one different) in case we need to make notes. And it's nice to have one even if we don't need to make notes. I'll photograph these and post them when I get back.

Rumour has it we'll be doing the Configuration Boxes - so the camera will be working overtime. I'll make sure it's fully charged!

Monday, February 21, 2011

TIM HOLTZ TIME & BACKSTAGE AT THE SHOW

Me and Tim
I had a great time at the 'Ranger On The Road' gig for retailers, teachers etc, at the Birmingham NEC on Saturday.
Tim's & Dyan's samples for the workshop - copyright Tim Holtz
My three, done in the workshop - copyright Susie Jefferson
In 3 hours, we all decorated (and finished) three canvases each, and I had a whale of a time playing with all the new products: sticky-back canvas, Distress inks, new Paint Dabbers, Claudine Hellmuth's paints, Perfect Pearls in 4 new colours...
Me with Tim
Me, Tim, and Chris McMillan
Tim in Real Life is a total sweetie, warm, very funny and has the patience of a saint! He also posed with me (and with Chris McMillan, one of the teachers at Blade Rubber Stamps, also on Blade's Design Team along with me) as did Mario - another total sweetie, and Dyan Reaveley from Art From The Heart, who is also a very fun person to get to know.

Closup of Tim's first project - using the new Distress Stains, sticky-back canvas and Tissue Tape
The wings are grungeboard, with Crackle Paint in Clear Rock Candy painted first, then the cracks emphasised with the new Distress Stains - I used Antique Linen.
Extra shadowing and antiquing added using Distress ink in Black Soot (very lightly) on the edges of the canvas torso, wheels, phrase and frame.
The background paper is treated so the print resists the Distress Stains - I used Antique Linen on the canvas torso of the dress model, and also on the quotation. I used Broken China all over the background paper (which is Grunge paper, so it's that natural brown - covered up really well, too). If you want more depth of colour, add more Stain.

Dyan Reaveley from Art From The Heart, who designed this project (and the stamps!)
This is my version!
Showing my doodling along the sides and top of the frame (using Perfect Pearls)
This project, designed and taught by Dyan, features a background using one of her own journal pages printed onto Sticky-back Canvas (using an inkjet printer) with Tim's Birdcage die, and Dyan's stamp designs (chicken and flowers - all painted with Perfect Pearls).

Me and Dyan
Dyan, Chris McMillan and me
She had the most amazing diamante skull pendant, which I lusted after...

I seem to be the only one who painted in their windows! My house has someone living upstairs...
I also stamped all over the sides, top, bottom, background....
As you can see: very dimensional, with the lolly sticks used to stir the paint repurposed (don't you love that word?) to form little trees, then buttons stuck on top for foliage - and a LOT of stamped and cut-out flowers.
The final project was the messiest (hence kept till last) where Tim featured Claudine Hellmuth's new stamp designs - a solid one, applied with her acrylic paints; and a line image which is stamped over the solid image. The line images are very loose, very sketchy, and not intended to index perfectly - so just let loose and allow the stamp to hit wherever it wants to!
Me and Mario - he's a little shy, very sweet - and has the most lovely smile
This is where someone nearly dropped my camera - Mario's laughing - I'm slightly panicky...
I then collared Mario for a photo opportunity - another great guy with the patience of a saint! How many middle-aged women run up to him and Tim begging for more photos and more photos... and Tim was stood there signing autographs (including some of the projects - so if you see any of these canvases on eBay, I can tell you they aren't Tim Originals!)

I have this awful feeling I've finally officially descended into Groupie-dom.  Nevertheless, off with a happy heart... Chris and I were sitting with another Chris (part of the Design Team for Your Touch of Craft) along with Kay (Your Touch of Craft) and Kay's daughter had a stand at the show selling WOW Embossing Powders - so Kay was able to sneak us in for a quick look around. There wasn't much to see as everything was being set up, so I didn't take more than a couple of pix...

Chris, me and Sara
You'll all recognise Sara Davies, owner of Crafter's Companion (and the inventor of those amazing embossing boards et al - National Business Person of the Year 2010, etc). Sara's now got her boards into the US (the US rep was there) and also Canada (Carmi represents her in Canada).
Me with Sheena
Sheena with Chris
Sheena has just gone solo, and this was her very first wholesale show as Sheena by Sheena Douglass. All the stamps you see are her design, she has a new DVD just out - and I rather think she'll have done very well somehow!
Work in progress...
I thought I'd finish this post with pix of works in progress at the workshop - these are Chris's and Kay's. You can see they are all the same - yet all a little different, too

Thursday, February 17, 2011

I'M OFF TO SEE THE WIZARD!


I'm off to take a class with Tim Holtz!

I can't wait! I'll be at the Birmingham NEC, where Tim is teaching a special class - for the trade (ie: stockists, teachers etc) who will be selling/using/teaching his products. So I'll get to see the latest art goodies and the latest techniques!
Image from Vintage Catnip
I've got a brand new suitcase to honour the occasion, and am off to pack it right now... so you won't hear from me until Sunday, when I hope to have pix and lots of news!

Essential equipment to take:
  • Tim Holtz brand non-stick scissors (mandatory)
  • a new journal I've made for the occasion (I'll post pix later)
  • camera (charging it up now)

I hope you are all thoroughly jealous (in the nicest possible way, of course....)

Friday, February 11, 2011

FREEBIE FOR PINK SATURDAY

Adorable child pic is Daizy by M on DeviantArt
I've done a frame image for you this week - this could be used as a picture or even a blog header (just add your own text and click to resize).
It would also work as a Valentine image, which was my original idea, but I couldn't find an image I liked.


Left click to bring up to full size, and right-click to save to your computer. Add your photograph in a layer below this then merge. This is a png, so the central white portion is actually transparent. If this doesn't download correctly, use this image code instead:
http://i659.photobucket.com/albums/uu313/1stFloorFlatComputery/67d25be6.png
Here's an excellent video tutorial by Shabby Blogs showing how to layer and add text:


People often ask me if I use a lot of layers in my work. The answer is 'yes' and here is this piece, if you are interested:

Happy Valentine's weekend, folks!

pink saturday

Finally, please visit Beverly at How Sweet the Sound to see all the other wonderful Pink Saturday posts!

Friday, February 4, 2011

MIXPOD - MUSIC WIDGET PLACEMENT

Copyright Tack-o-Rama
Kit contacted me, asking how to wordwrap around a MixPod widget.

So I thought this would make an excellent tutorial, in case anyone else would like to know. The advantage of MixPod from my point of view is that the widget can be set to play only when clicked on (which is only polite, as others might not like my taste in music) and also doesn't slow my blog down.

Unfortunately PlayList does - it's really irritating that it completely freezes my computer, only to say that due to copyright issues, the music can't be played in my country (UK). As I surf with the sound OFF anyway (computer in living room + football on television = screaming husband, lol) it's doubly irritating!

So here's how I do it:

In this post, I give the basics of how to add your own MixPod player. You'll see I've got the widget in the centre of a post, and on my Music page, I've got one on the left and one in the centre.

I simply entered the link from Mixpod into the middle of the post, where I wanted it to appear. To do this, I entered the code with the posting area in HTML view (click on the tab just at the top of the posting box).

Where I didn't type in a placement instruction, the widget has automatically justified left as that is the default for my text.


Where I did type in an instruction, this goes at the start and at the end of the widget code.


These html instructions go in pairs, so you have to open the instruction with the first part of the code, ie: <center> and then close it: </center>.


The closing instruction is always a / and then the repeat, eg: <b> and </b> (this is the instruction to make a piece of text bold, ie: <b> this is bold </b>

I hope this makes sense?

I don't know of any way you can wordwrap either side of the widget, as this would interfere with the html code of the widget itself, so I think you'll have to be satisfied with having text above and below the mixpod player. But at least you can have it in a post, if you don't want the player in an html box in your footer or  the sidebar!

If you want to reposition the player, you do need to cut&paste. I also strongly advise you don't set this to play automatically, or people could be scrolling through forever, trying to find the post to turn it off.

Email me if you have any problems.